Bed Bug Heat Treatment Process
These steps should be followed by to achieve an effective bed bug heat treatment.
IMPORTANT: Preparation and equipment requirements may vary based on the type of structure to be treated. Always perform a walkthrough to evaluate the structure, contents, and potential safety hazards. Below are procedures to follow to perform a successful remediation of bed bugs.
1. Complete a pre-inspection to determine if all preparation steps have been completed. For a heat treatment preparation checklist, click here
2. Install air movers every 75-200 square feet of open space to equally distribute heat throughout the affected area. The heater also counts as a fan, as it has a blower built into the system. More fans never hurt, they only help. If you only have 1 fan per 200 square feet or greater, heavy clutter, or a space that is broken up to many small areas, you will need to redirect fans multiple times throughout the process to ensure heat is directed across all surfaces
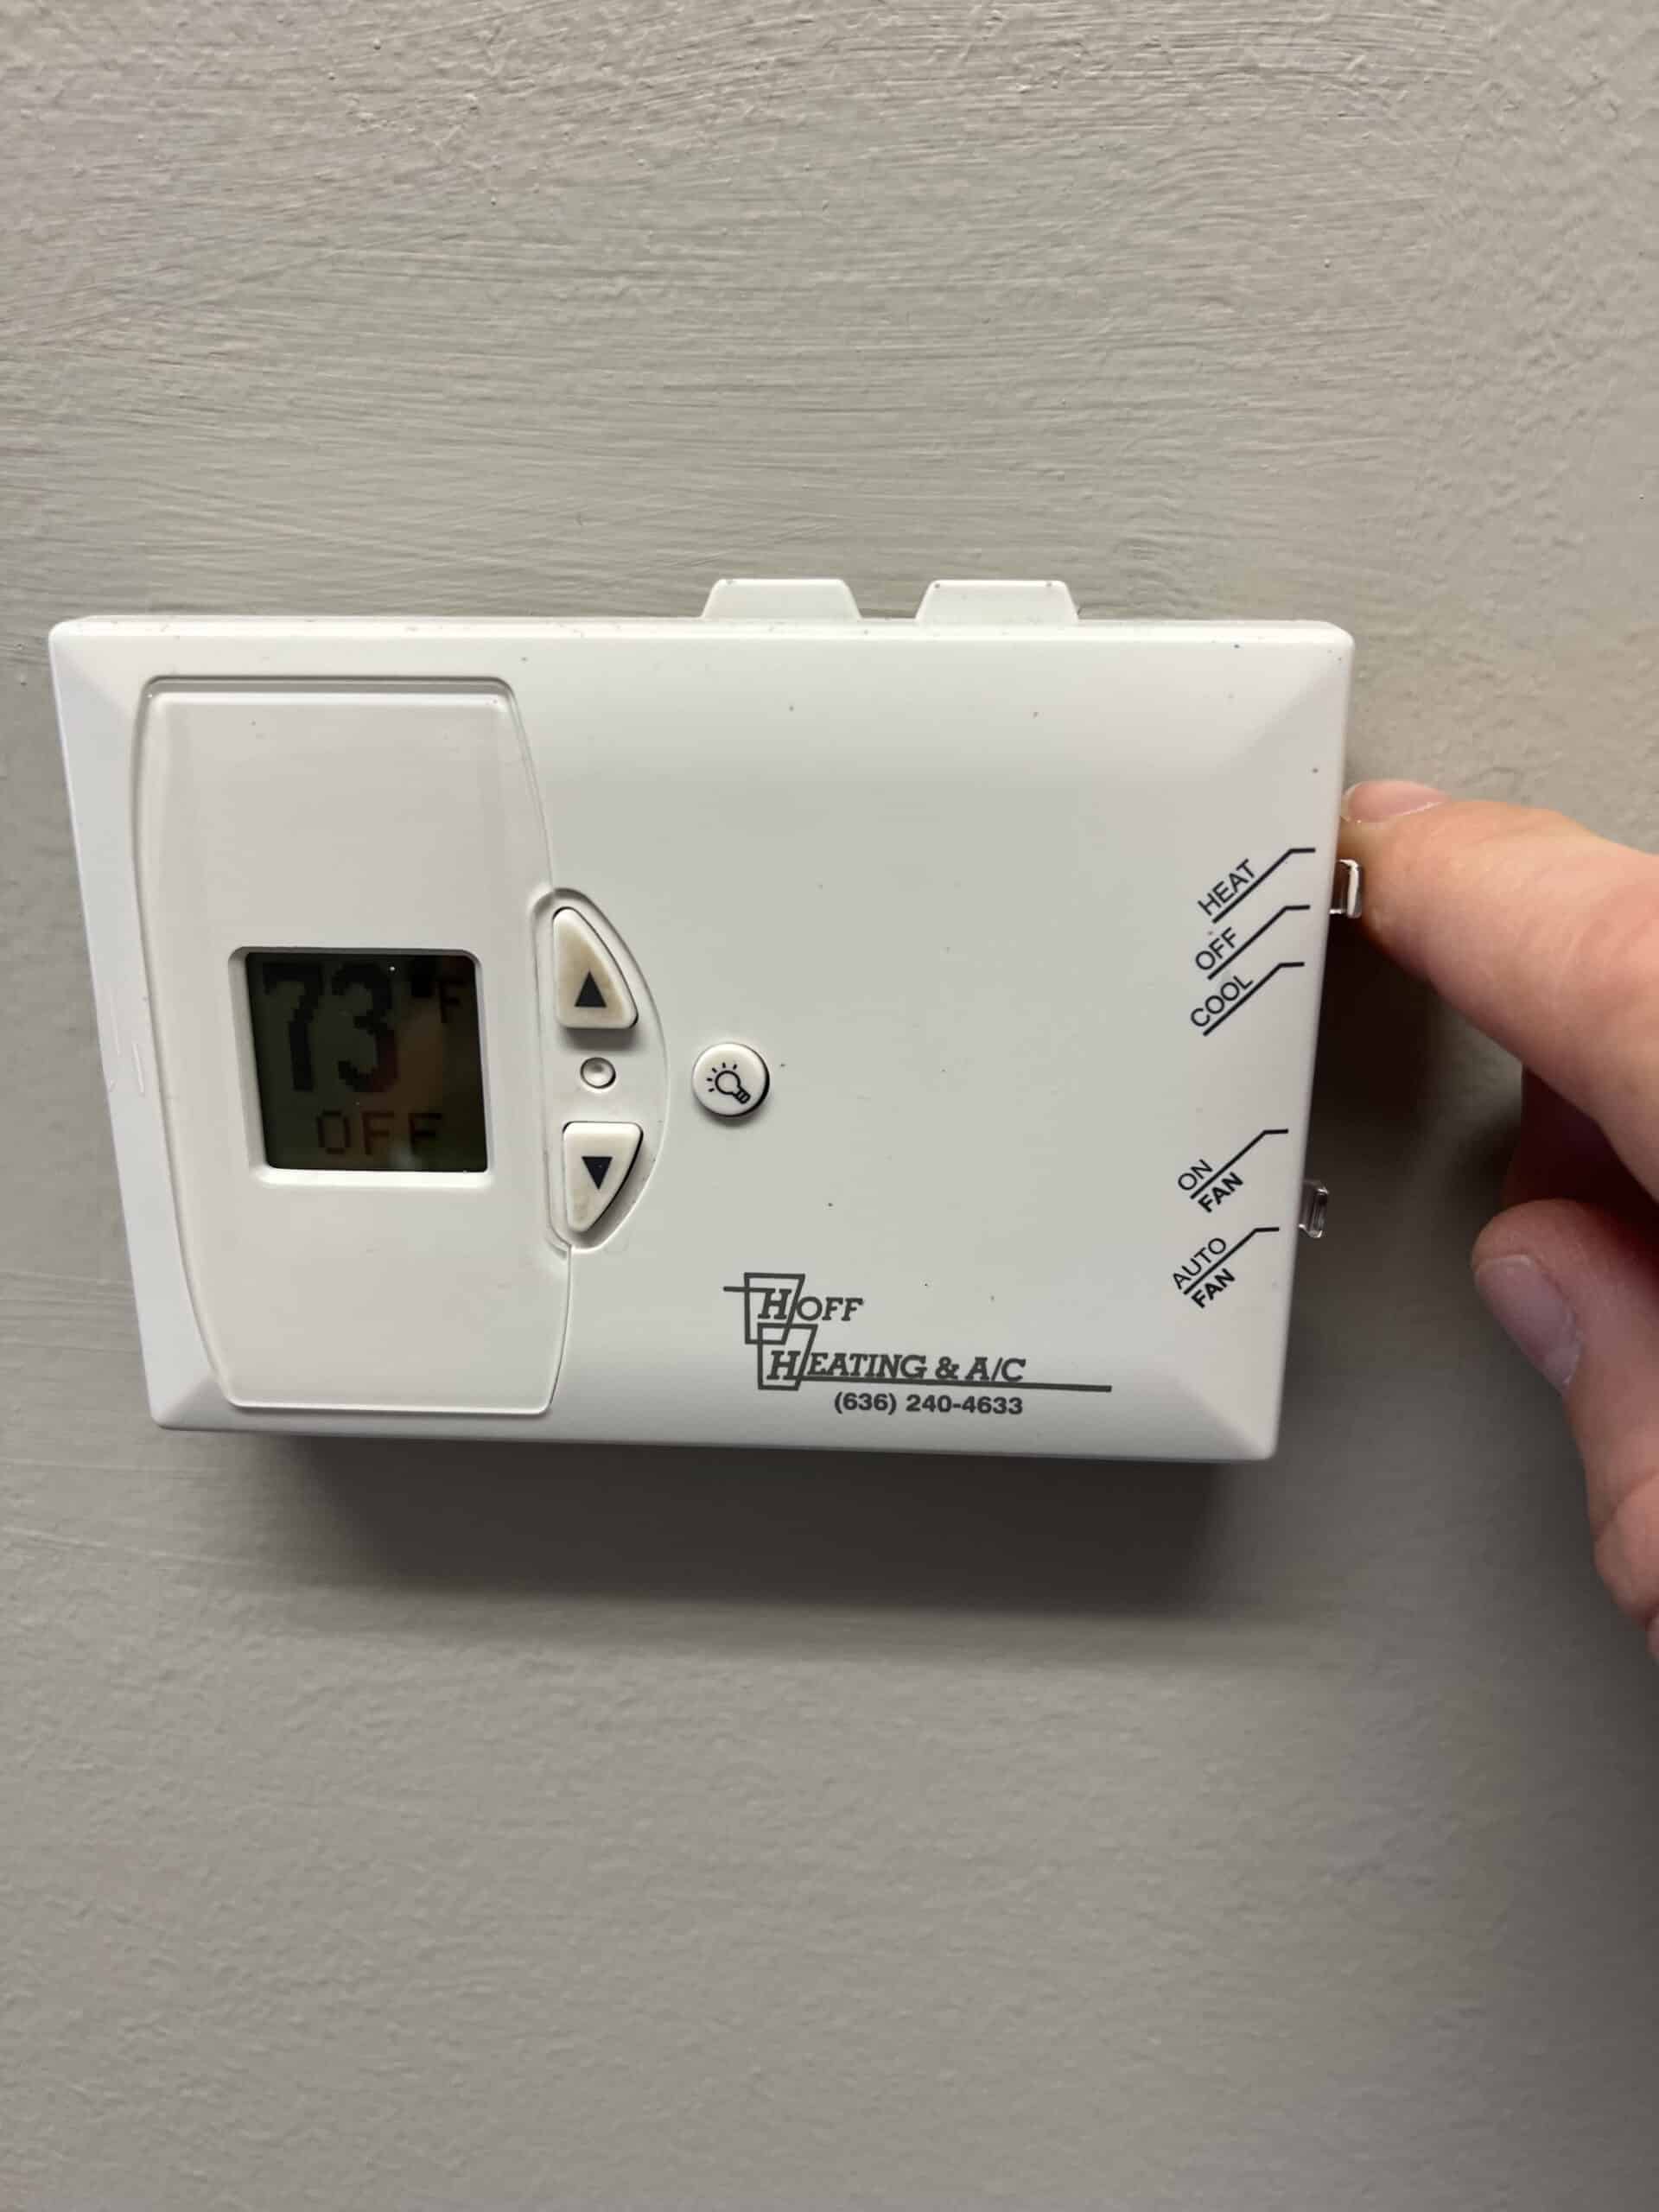
3. If air conditioning is on, set to the “Off” position.
4.Seal windows with insulated foil to reduce heat loss(not required, but optimizes the treatment)
5. Seal vents to avoid heat loss, or prevent cooler air from being blown into the treatment area.
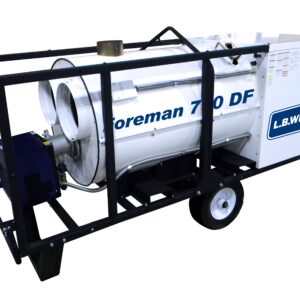
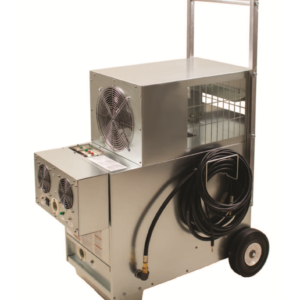
6. Install the heater according to the table below to achieve desired temperature range. Please consult heater capacity/sizing table below for guidance.
Heater Capacity/Sizing Table
| Heater Type | Square Footage Capacity |
| Single-Room Heater(All 3 elements plugged in) | 180 square feet or less |
| C4 Heater(All 4 elements plugged in) | 300 square feet or less |
| Elite 8(All 8 Elements plugged in) | 400 square feet or less |
| Eliminator 52K(both 30A & 50A plugged in) | 700 square feet or less |
7. Introduce heat to the structure. If the structure will safely handle it, the recommended minimum space temperature is at least 120 degrees, and ideally 135 degrees F with a treatment time of 4 hours once this temperature is achieved. This treatment time helps to insure all wall cavities, interstitial spaces, mattresses, and cushions have exceeded the kill temperature.
8. Temperature monitoring of these internal spaces during the bed bug heat treatment process is recommended with a confirmed internal temperature of 122 for a minimum of 2 hours(NPMA Standard). You can use the temperature display on the heater as an overall guide, and your infrared thermometer to scan surfaces to find cool spots.
9. Manipulate furniture as needed for heat distribution, lift mattresses and box springs, and rearrange linens and clothing to insure highest level of success.
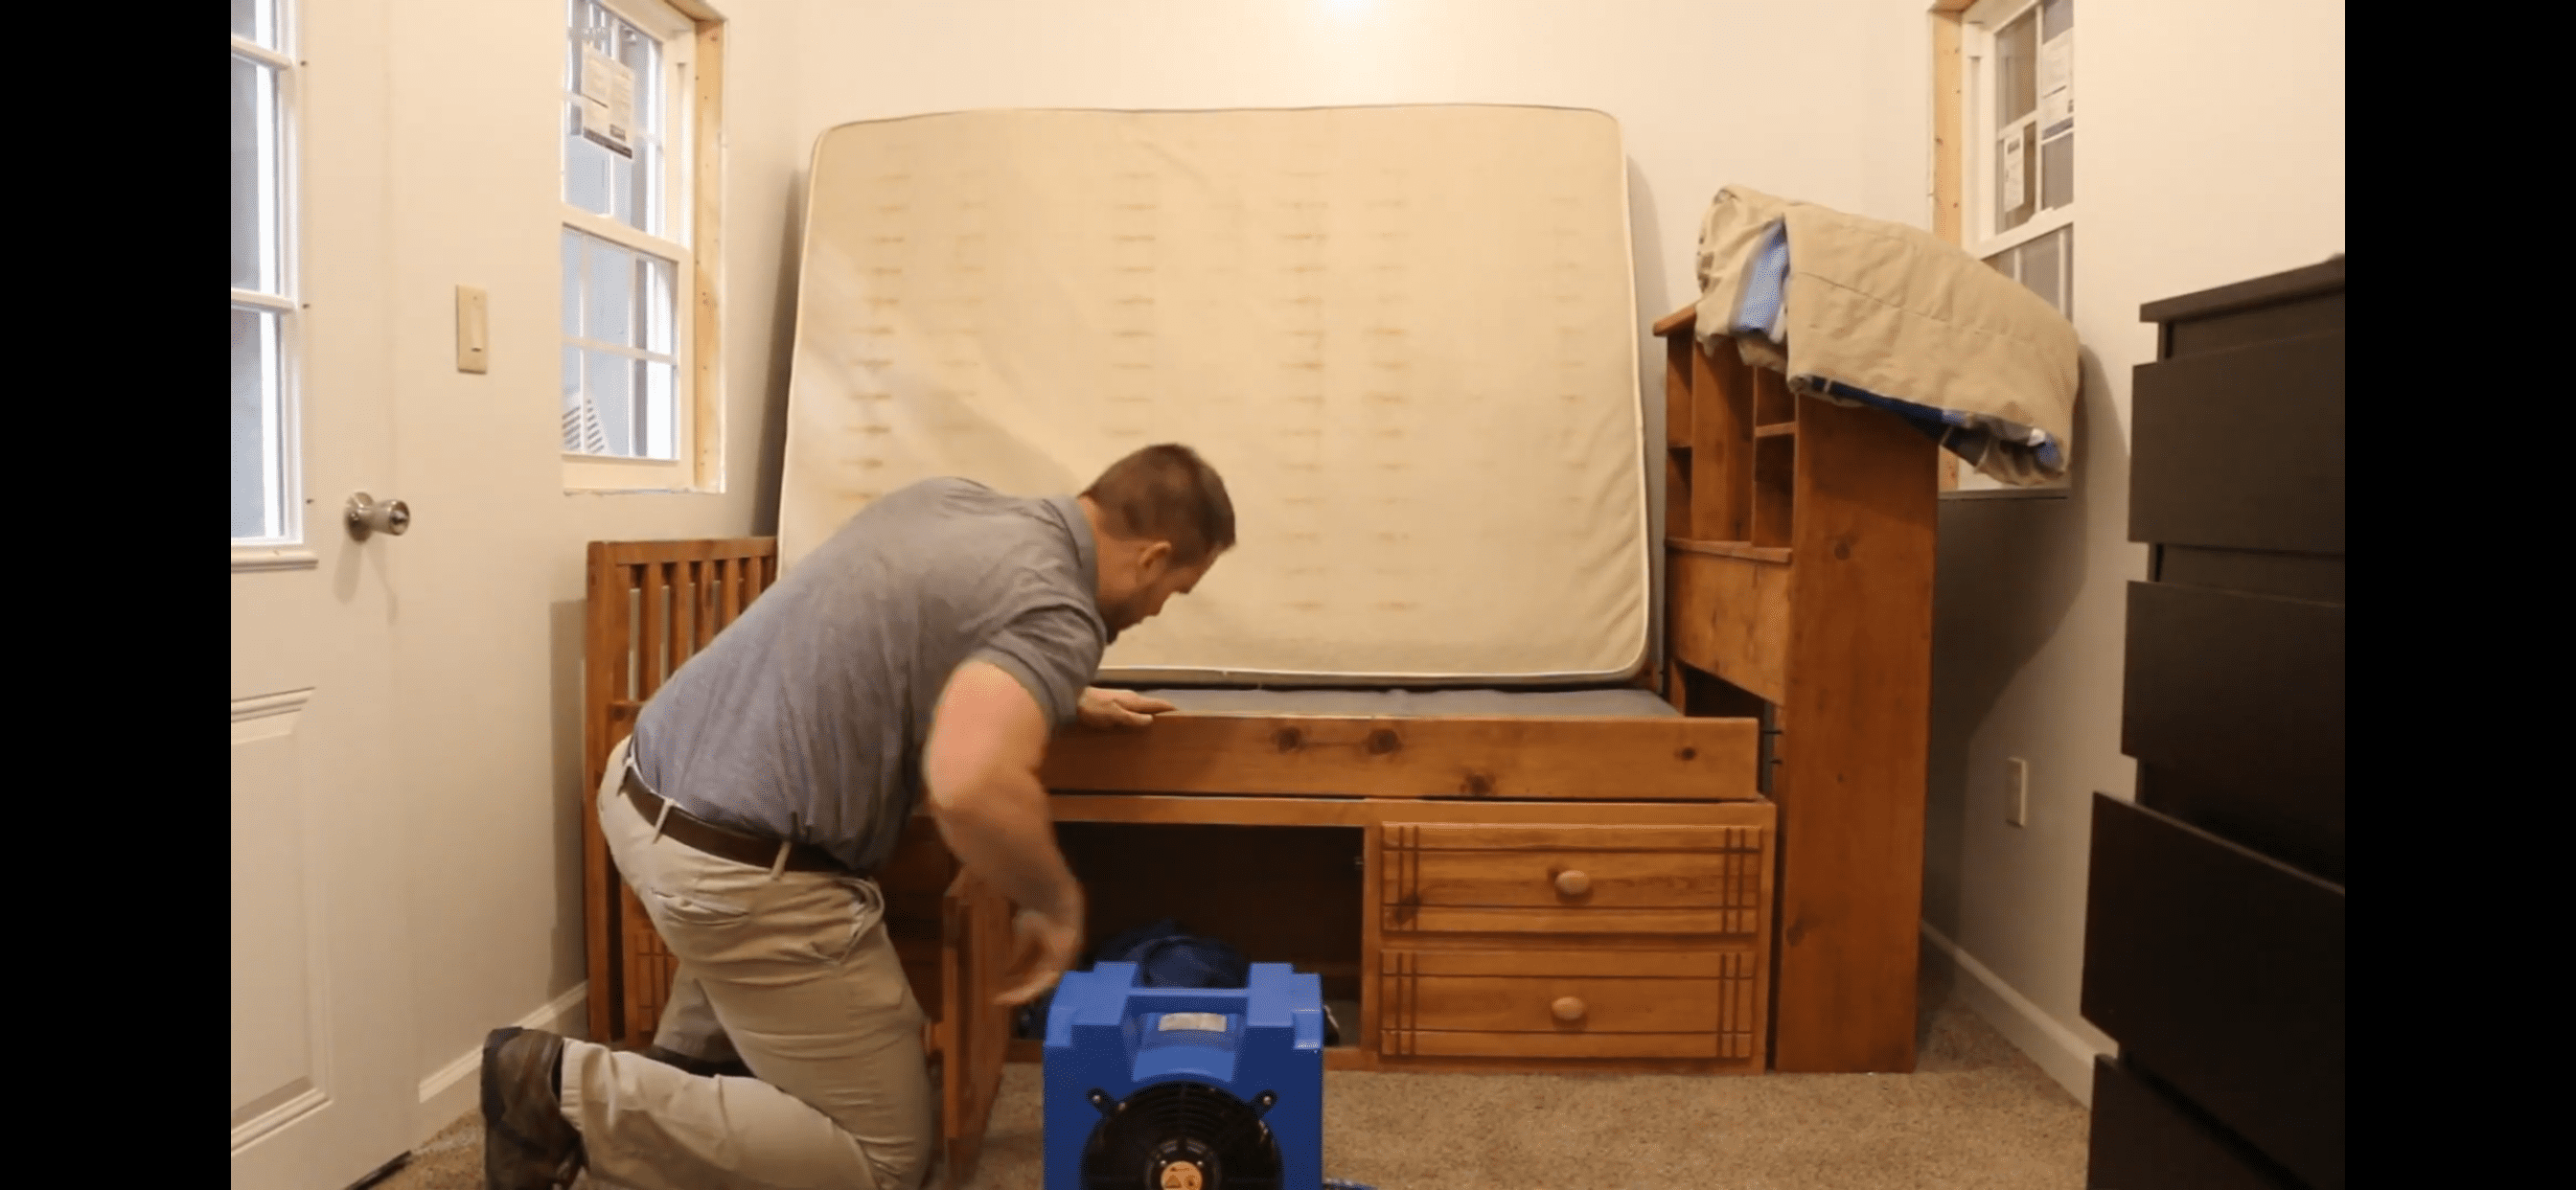
10. Move air mover(s) and heat sources as needed to achieve uniform temperatures (be conscientious of heat exhaustion and leaving openings for heat to escape). We recommend placing air movers at an angle blowing towards the wall to assist with creating a “vortex” or circular flow of heat around the room. The heat source can be placed in the same manner, and directed at a bed or other piece of furniture.
11. Perform visual inspection to look for carcasses, and/or any indications of continued bed bug activity. If no further activity is noted, proceed to next step.
12. Shut down heat system(s), and allow airflow to distribute to cool the space down. Open windows, and place fans in areas to pull outside air into structure.
13. Proceed with removal of all air mover(s) and heat system(s).